Skip to content
Search for:
twitter
facebook
instagram
pinterest
flickr
Melissa Maples
About
Contact
Category:
Photography
100 Happy Days
100 Happy Days
The old school
The old school
201365
201365
five•two•fifty-two: forty
five•two•fifty-two: forty
Light and shadow
Light and shadow
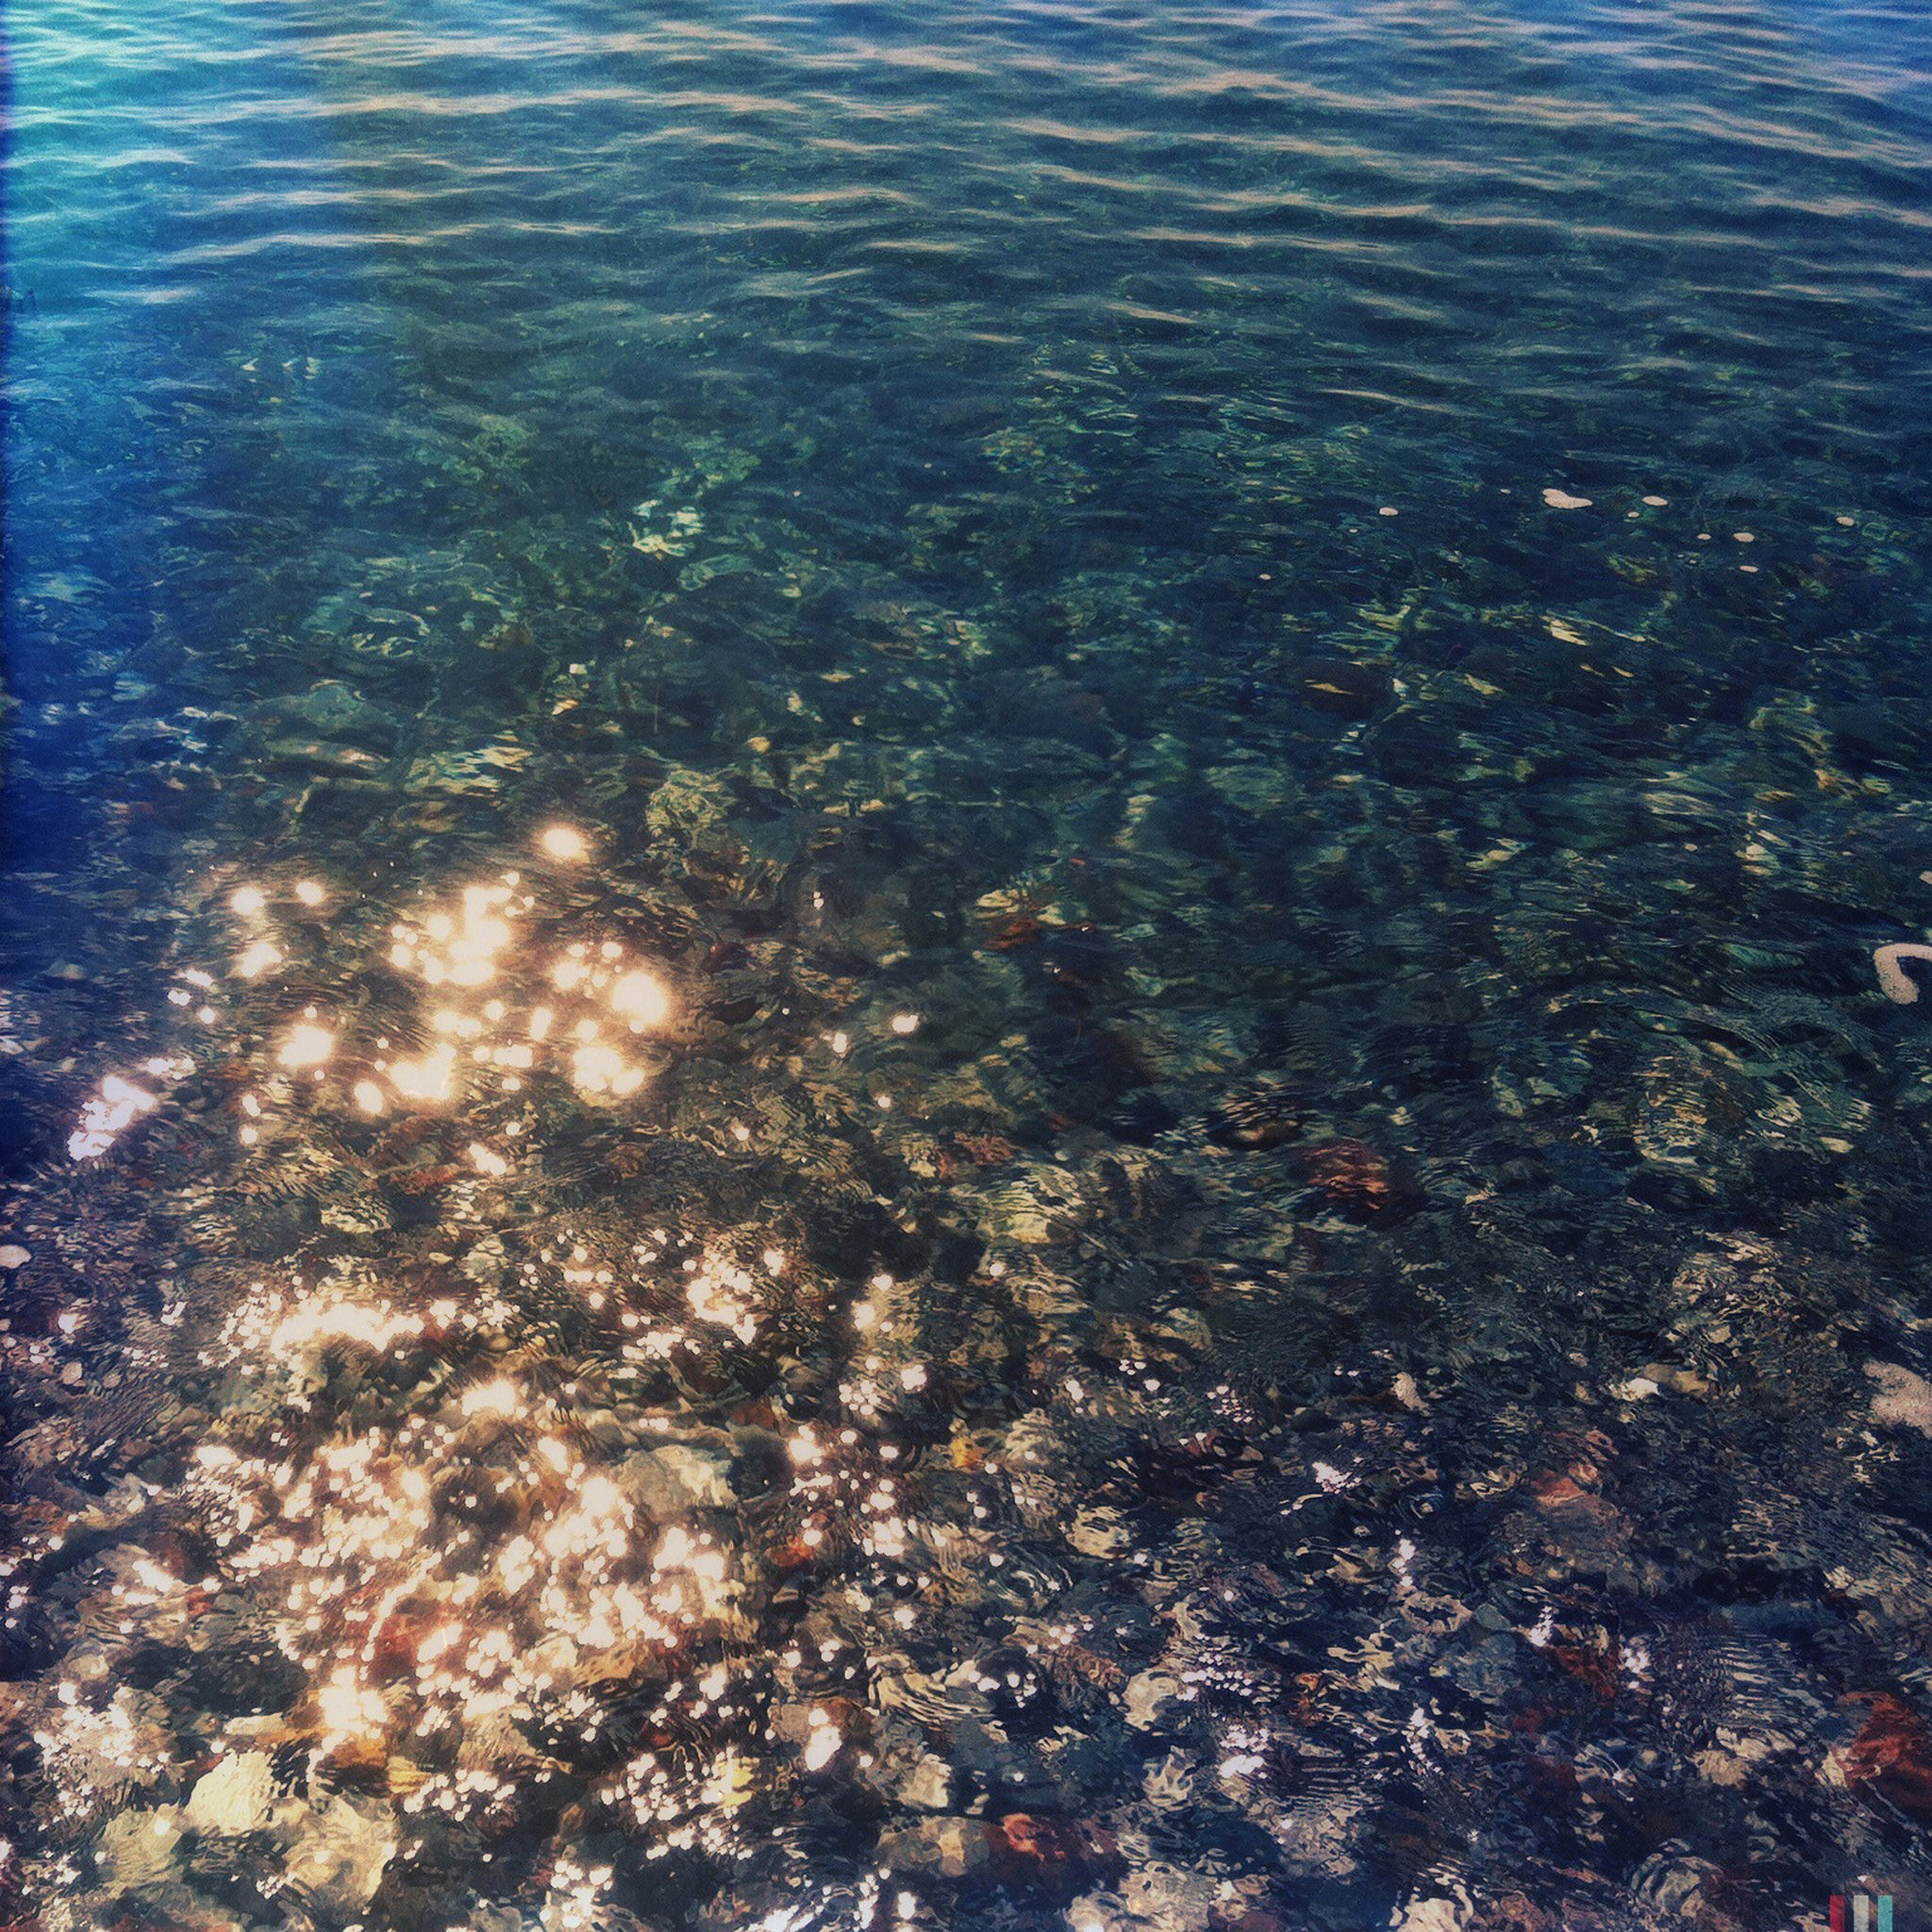
Sea photography, part one
Sea photography, part one
The upcoming adventures of DiCAPac
The upcoming adventures of DiCAPac
Underwater symphony
Underwater symphony
five•two•fifty-two: twenty-one
five•two•fifty-two: twenty-one
five•two•fifty-two
five•two•fifty-two
Posts pagination
1
2
…
7
Next